Grant and check access
Grant a role to a person, team or service account on one resource, then check what they can reach. Access control explains how grants inherit and add up.
Before you start
- You hold
iam.adminorcatalog.accessAdminon the resource or a wider scope. - The member exists: a person who has signed in, a team or a service account.
Grant a role
Grant the role on the resource the member should reach, or across the whole catalog:
- UI
- Terraform
- Open the resource's access panel: the Access tab on an asset or data product, Manage access on a glossary term, or Settings → Catalog-wide access for the whole catalog.
- Select Grant access.
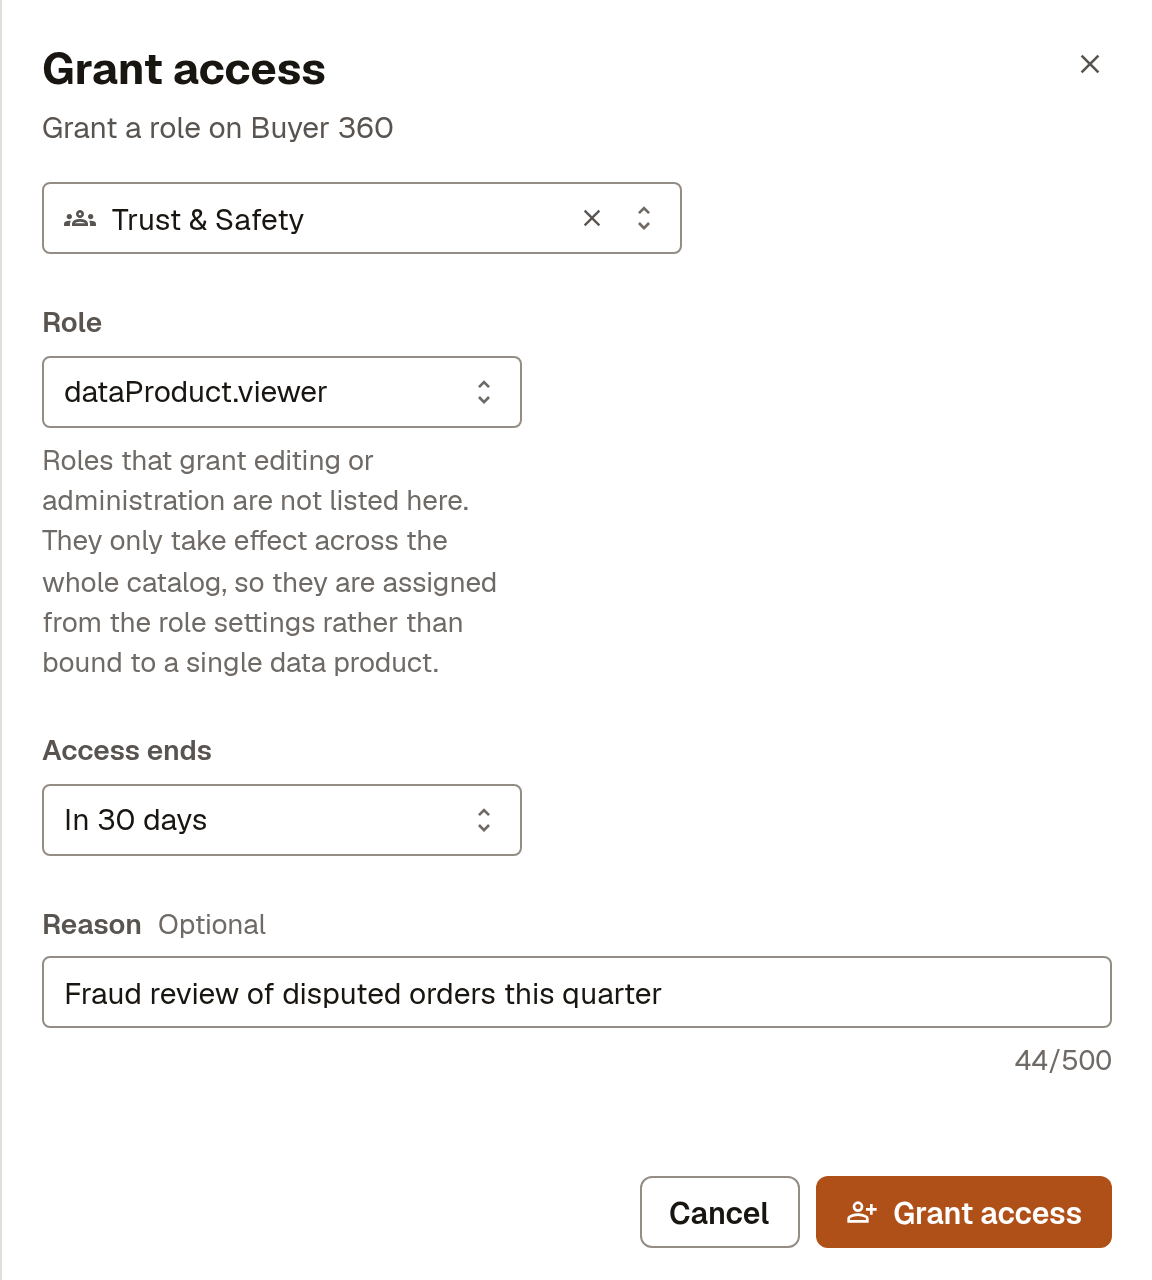
- Choose the member and the Role. Only roles that take effect on this resource are listed.
- Optional: set Access ends and a Reason for access that's only needed for a while.
- Select Grant access.
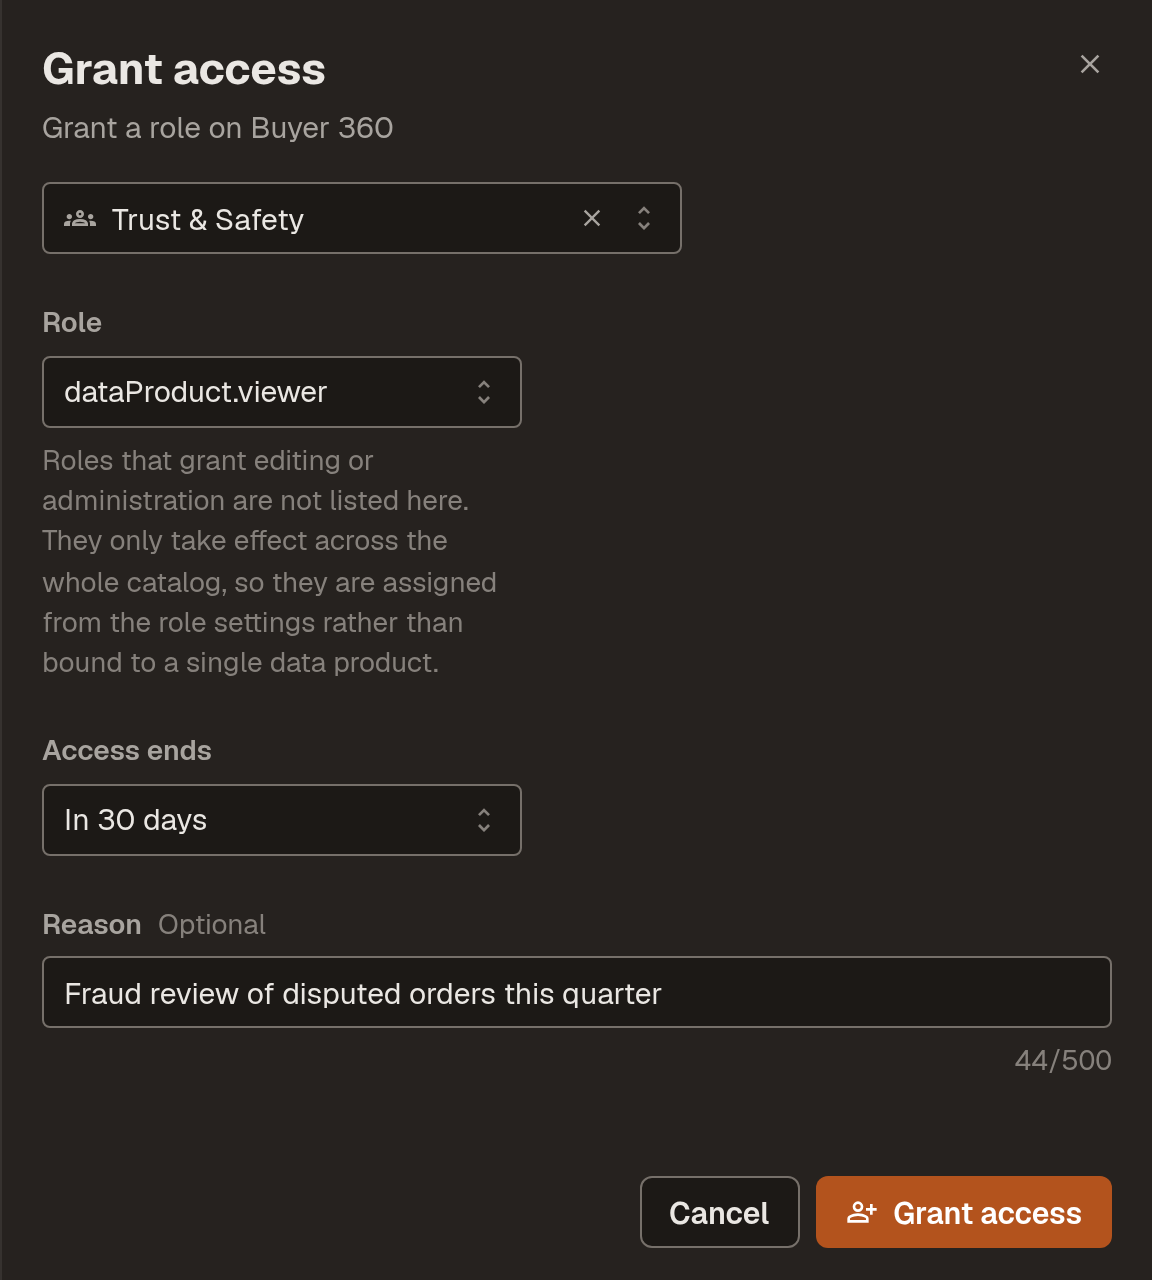
Granting the Trust & Safety team dataProduct.viewer on Buyer 360 for 30 days:
Secret stores and queryable pipelines have the same panel on their own pages.
resource "marmot_data_product_iam_member" "trust_reads_buyer_360" {
  data_product_id = marmot_data_product.buyer_360.id
  role            = "dataProduct.viewer"
  member          = "group:${marmot_team.trust_and_safety.id}"
}
The same _member resource exists for organization (the whole catalog), asset, glossary_term and secret_store. Each adds one grant and leaves the rest alone, so it's safe alongside grants made in the UI. For a grant with an end date, use the UI.
The _binding and _policy resources own a whole role or policy instead, as the provider's access control guide explains.
Set the base role
The base role is what everyone gets before you grant them anything. It starts as user, which reads the whole catalog. If the catalog holds something not everyone should read, lower it. Do it early, because a new base role only applies to people who haven't signed in yet.
Give new people no access by default
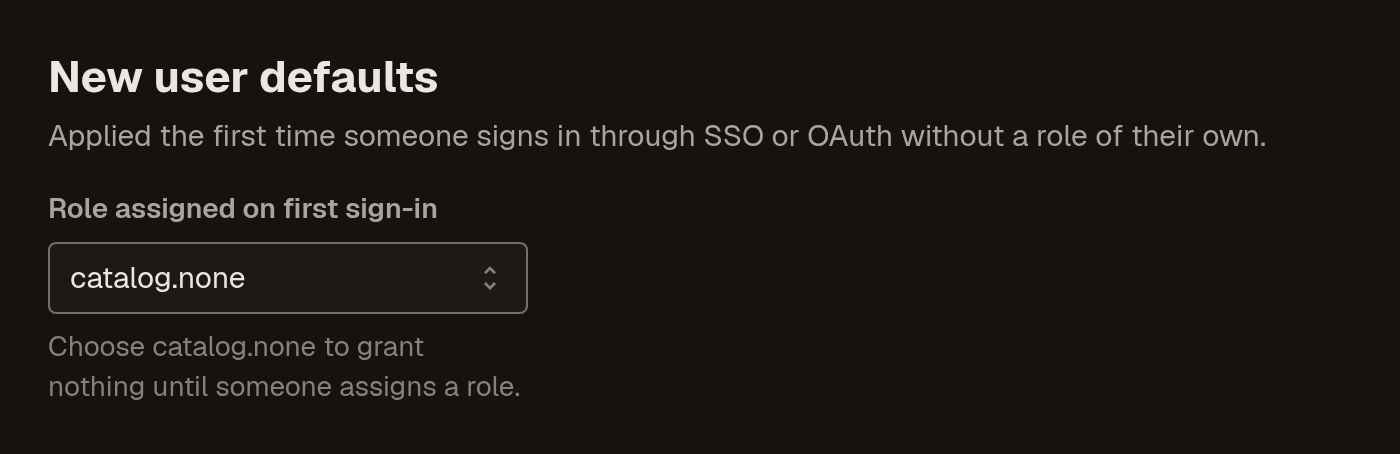
Open Settings → Authentication and, under New user defaults, set Role assigned on first sign-in to
catalog.none: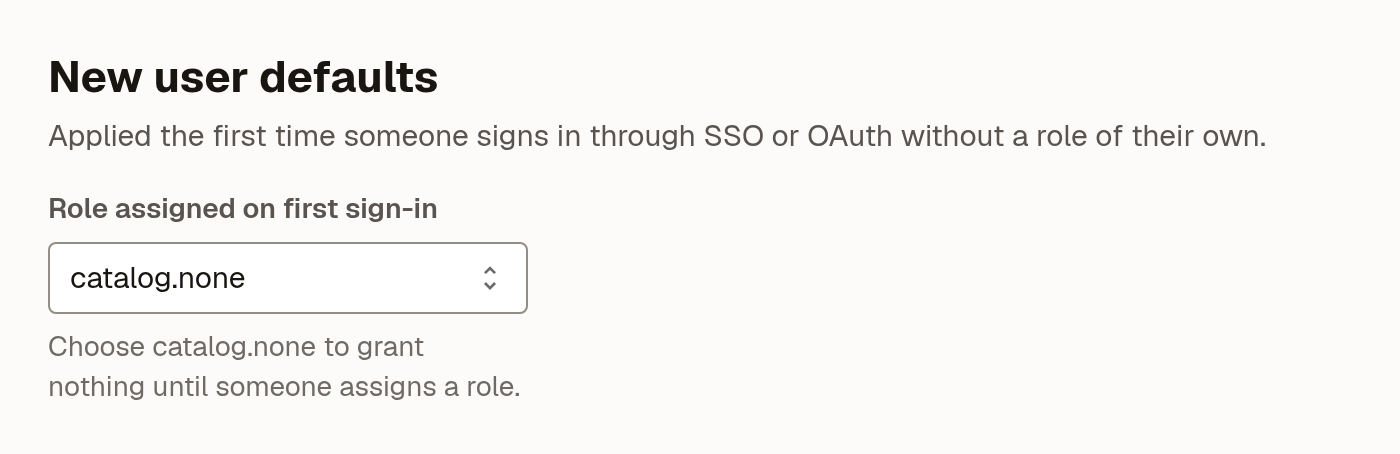
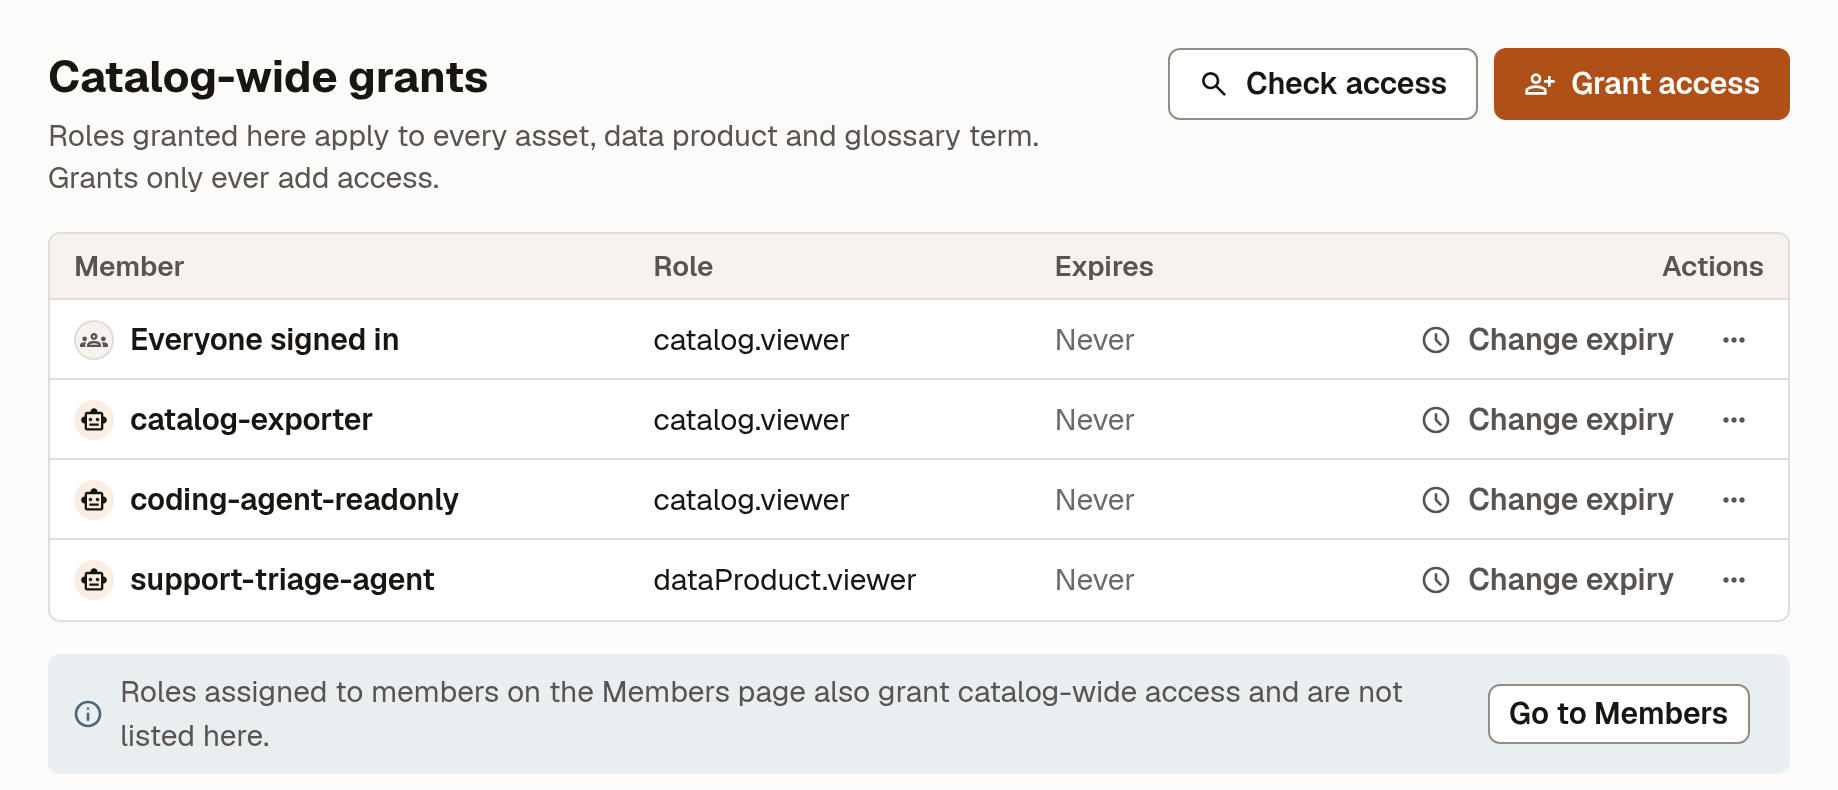
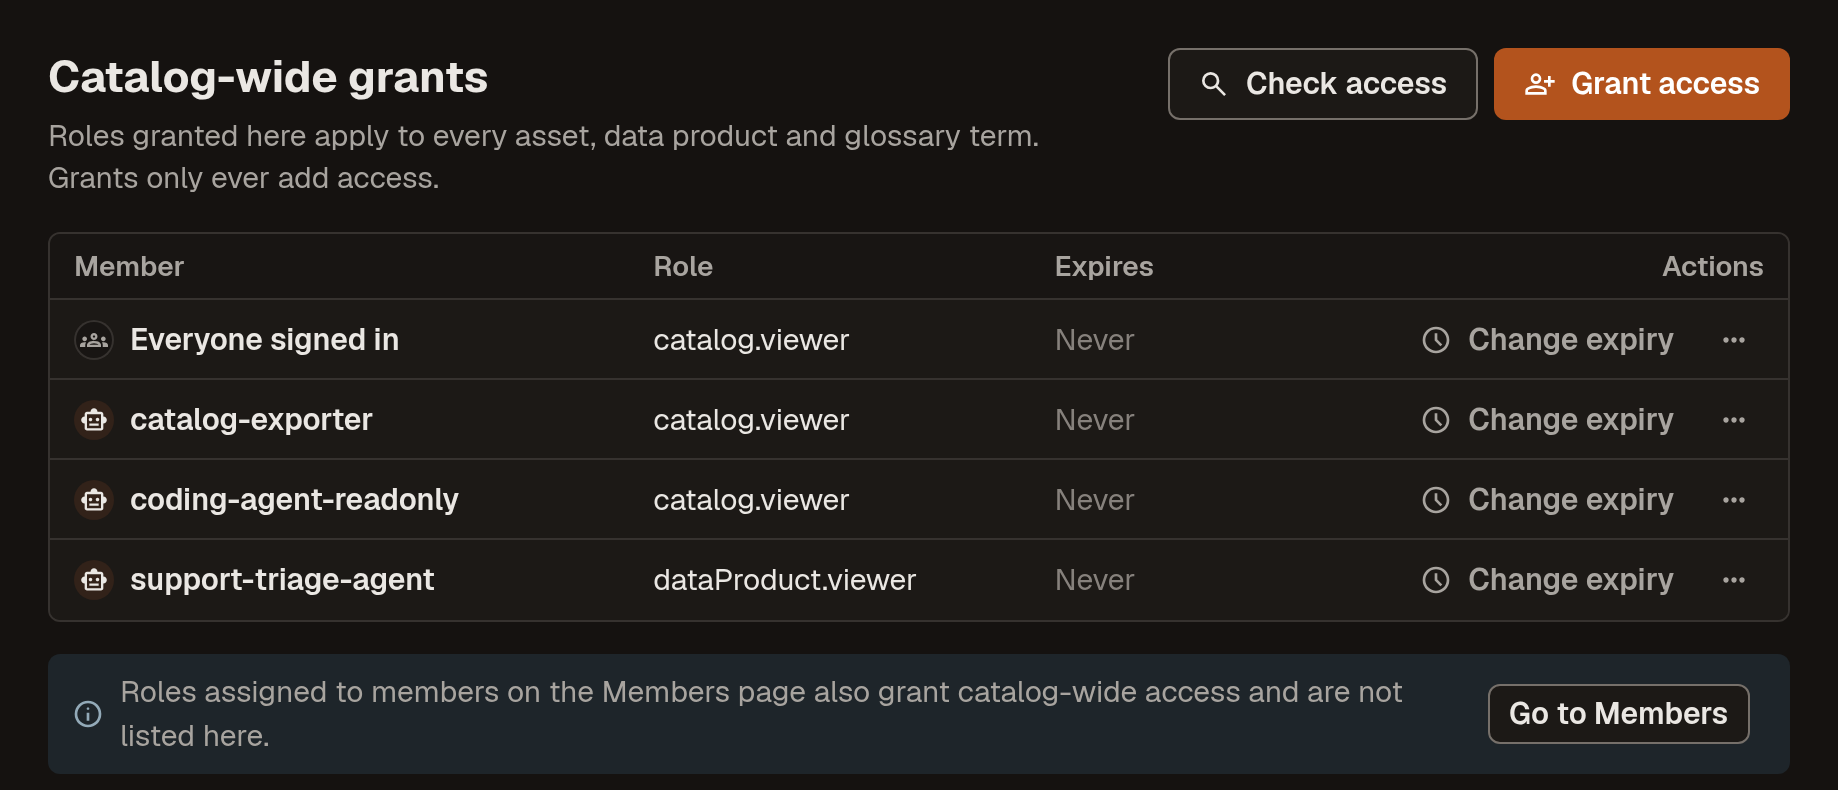
Remove the grant to everyone
Open Settings → Catalog-wide access, open the menu on the Everyone signed in row and select Revoke access:
Narrow existing members
Under Settings → Members, change anyone who holds
userto a narrower role.Grant teams what they need
Grant each team a role on the data products or assets it works with.
Check who has access
One resource
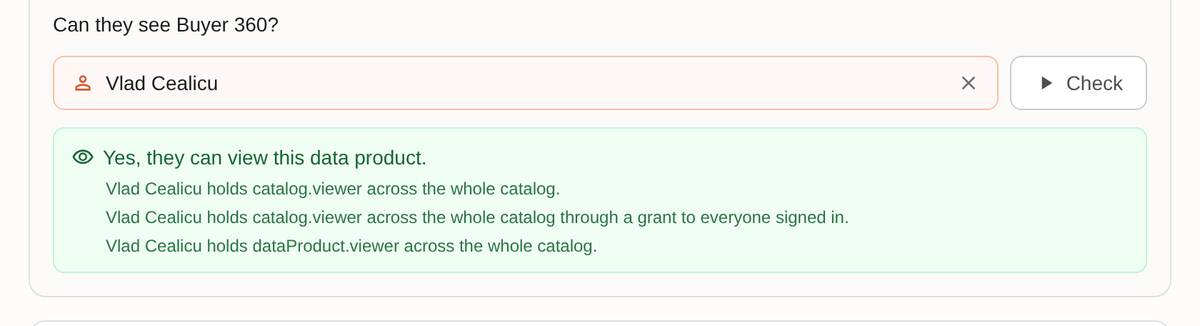
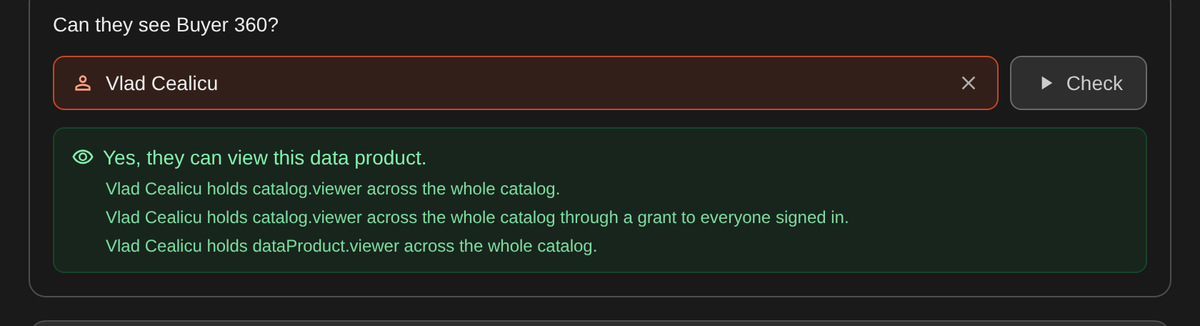
Open the resource's Access tab, select Check access and choose a member. Marmot says whether they can see the resource and which grants give them access:
One member
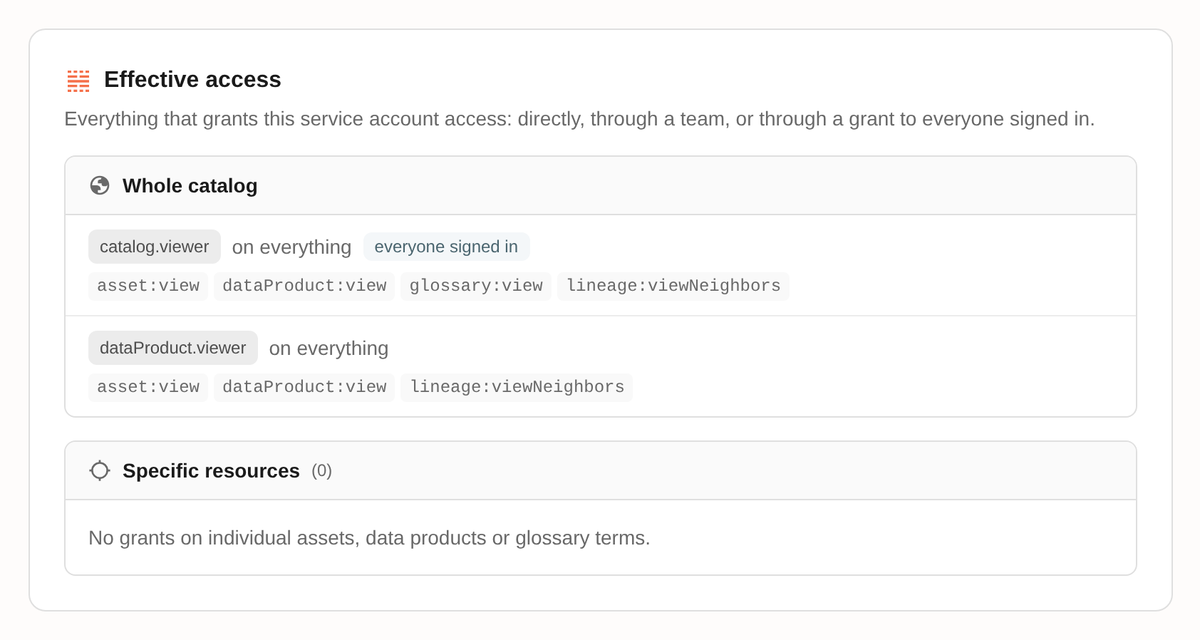
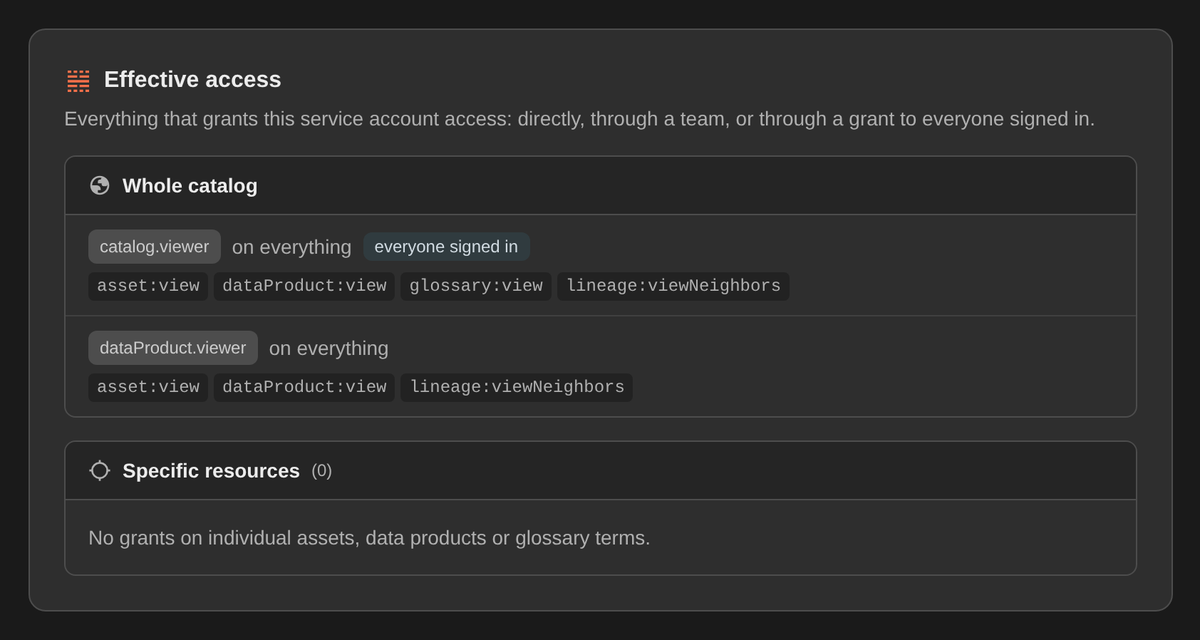
Check everything that reaches a member before you hand out a credential. Effective access is on each service account's and team's page in Settings, on a person under Settings → Members and under Explain access in Settings → Catalog-wide access:
Script an access review
The API is the only way to script this. Checking another member needs iam:view across the whole catalog:
export MARMOT_HOST=https://<instance>.marmotdata.cloud

curl -s -H "Authorization: Bearer $MARMOT_API_KEY" \
  "$MARMOT_HOST/api/v1/iam/effective-access?member=serviceAccount:$SA_ID"

curl -s -X POST -H "Authorization: Bearer $MARMOT_API_KEY" \
  -H 'Content-Type: application/json' \
  -d '{"permissions":["dataProduct:view"],"member":"user:'"$USER_ID"'"}' \
  "$MARMOT_HOST/api/v1/iam/dataProduct/$PRODUCT_ID/test-permissions"
test-permissions returns the permissions from your list that the member holds. Leave out member to test yourself.
Troubleshooting
| What you see | What to do |
|---|---|
| Check access says access comes "through a grant to everyone signed in" | The base role is too wide. Set the base role. |
| The role you want isn't in the Role list | It only takes effect catalog-wide. Grant it under Settings → Catalog-wide access. |
| "Testing another member's access requires iam:view" | Ask for iam.viewer across the whole catalog. |
| "Someone else changed this policy while you were editing. Reloaded; try again." | Make the grant again on the reloaded policy. |
Next steps
- Set up service accounts: give an agent or a CI job its own identity to grant to.
- Set up single sign-on: fill teams from your directory so you grant to teams, not people.