Use your own domain
Serve your instance on a hostname of your own, such as marmot.example.com, alongside its generated marmotdata.cloud one.
Before you start
- Your account is on Scale or Enterprise.
- You can add DNS records for the hostname at your DNS provider.
- The hostname is a subdomain, such as
marmot.example.com. A bare domain likeexample.comcan't hold a CNAME record.
You'll add two records, and the console shows the exact values for each:
| Record | Name | Points to | Why |
|---|---|---|---|
| TXT | Given by the console | A one-time token | Proves you control this one hostname |
| CNAME | marmot.example.com | <instance>.marmotdata.cloud | Sends traffic to your instance |
Add the domain
Everything happens on the instance's page in the console.
Prove you control the hostname
- Under Custom domain, select Add custom domain and enter
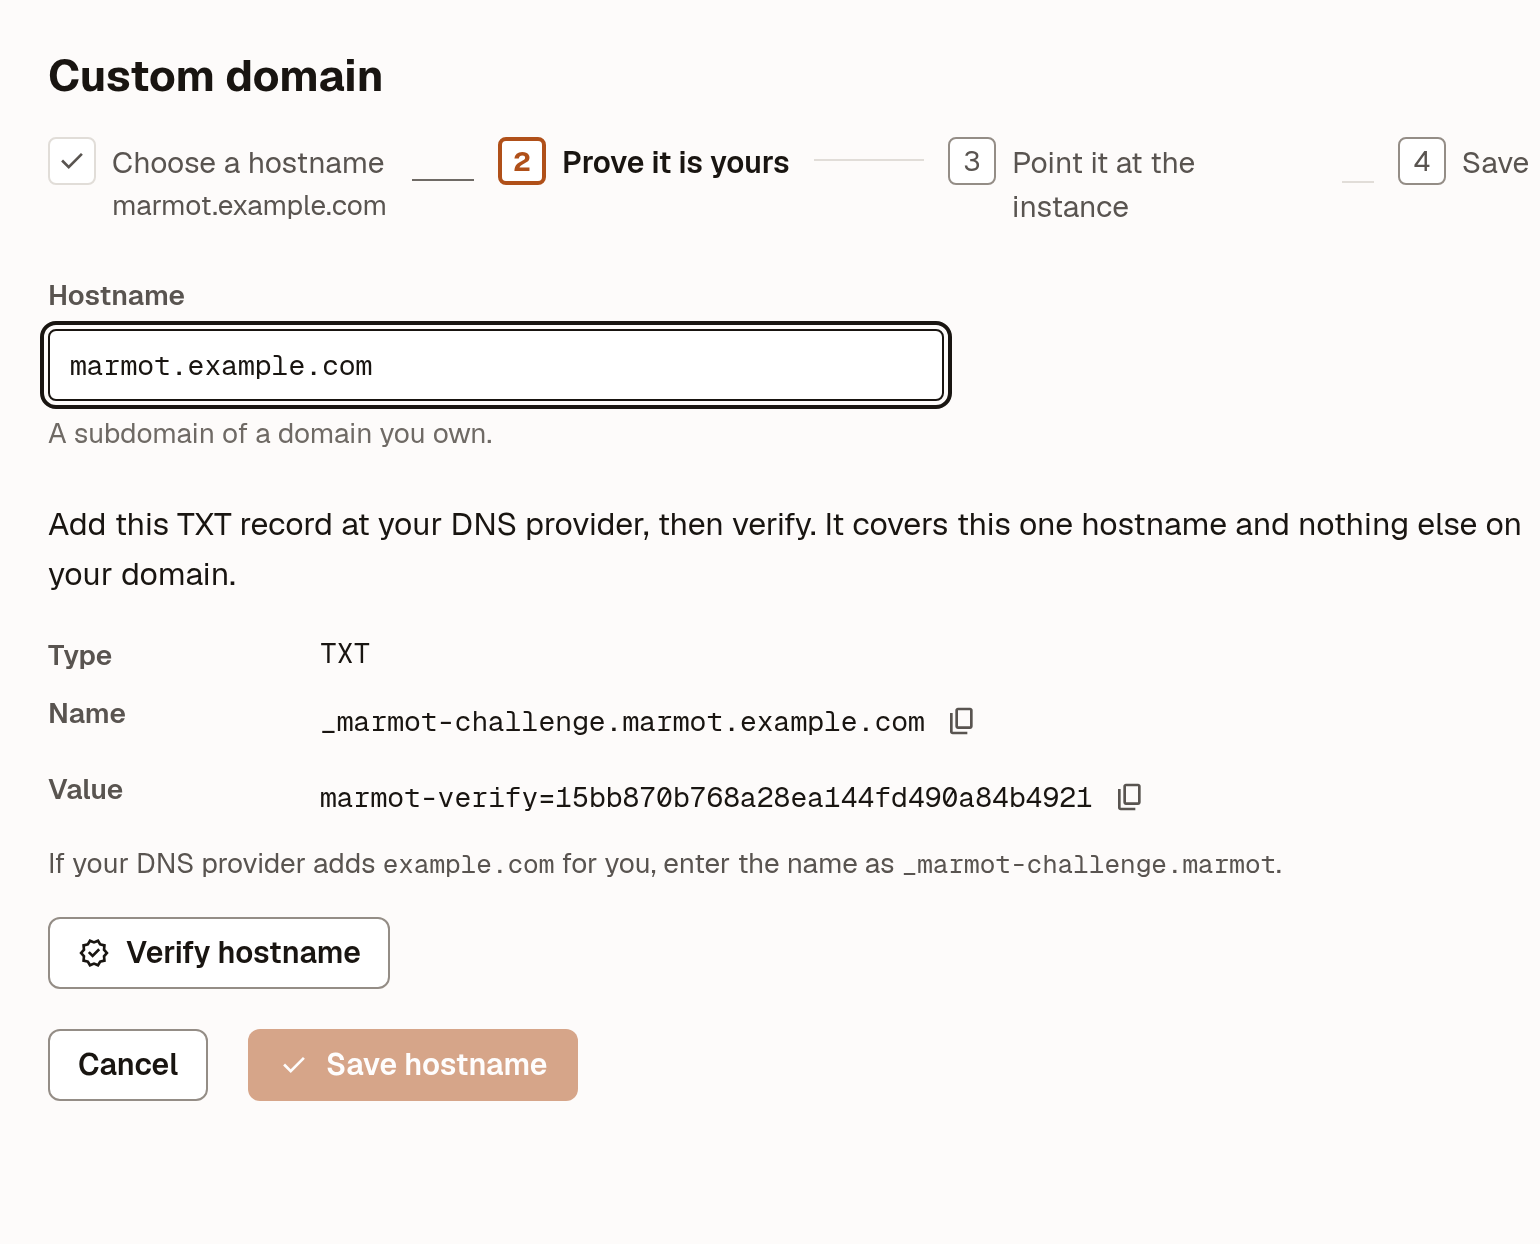
marmot.example.com. - Select Get TXT record and add that record at your DNS provider.
- Select Verify hostname.
- Under Custom domain, select Add custom domain and enter
Point it at your instance
- Add the CNAME record the console shows.
- Select Check DNS, then Save hostname.
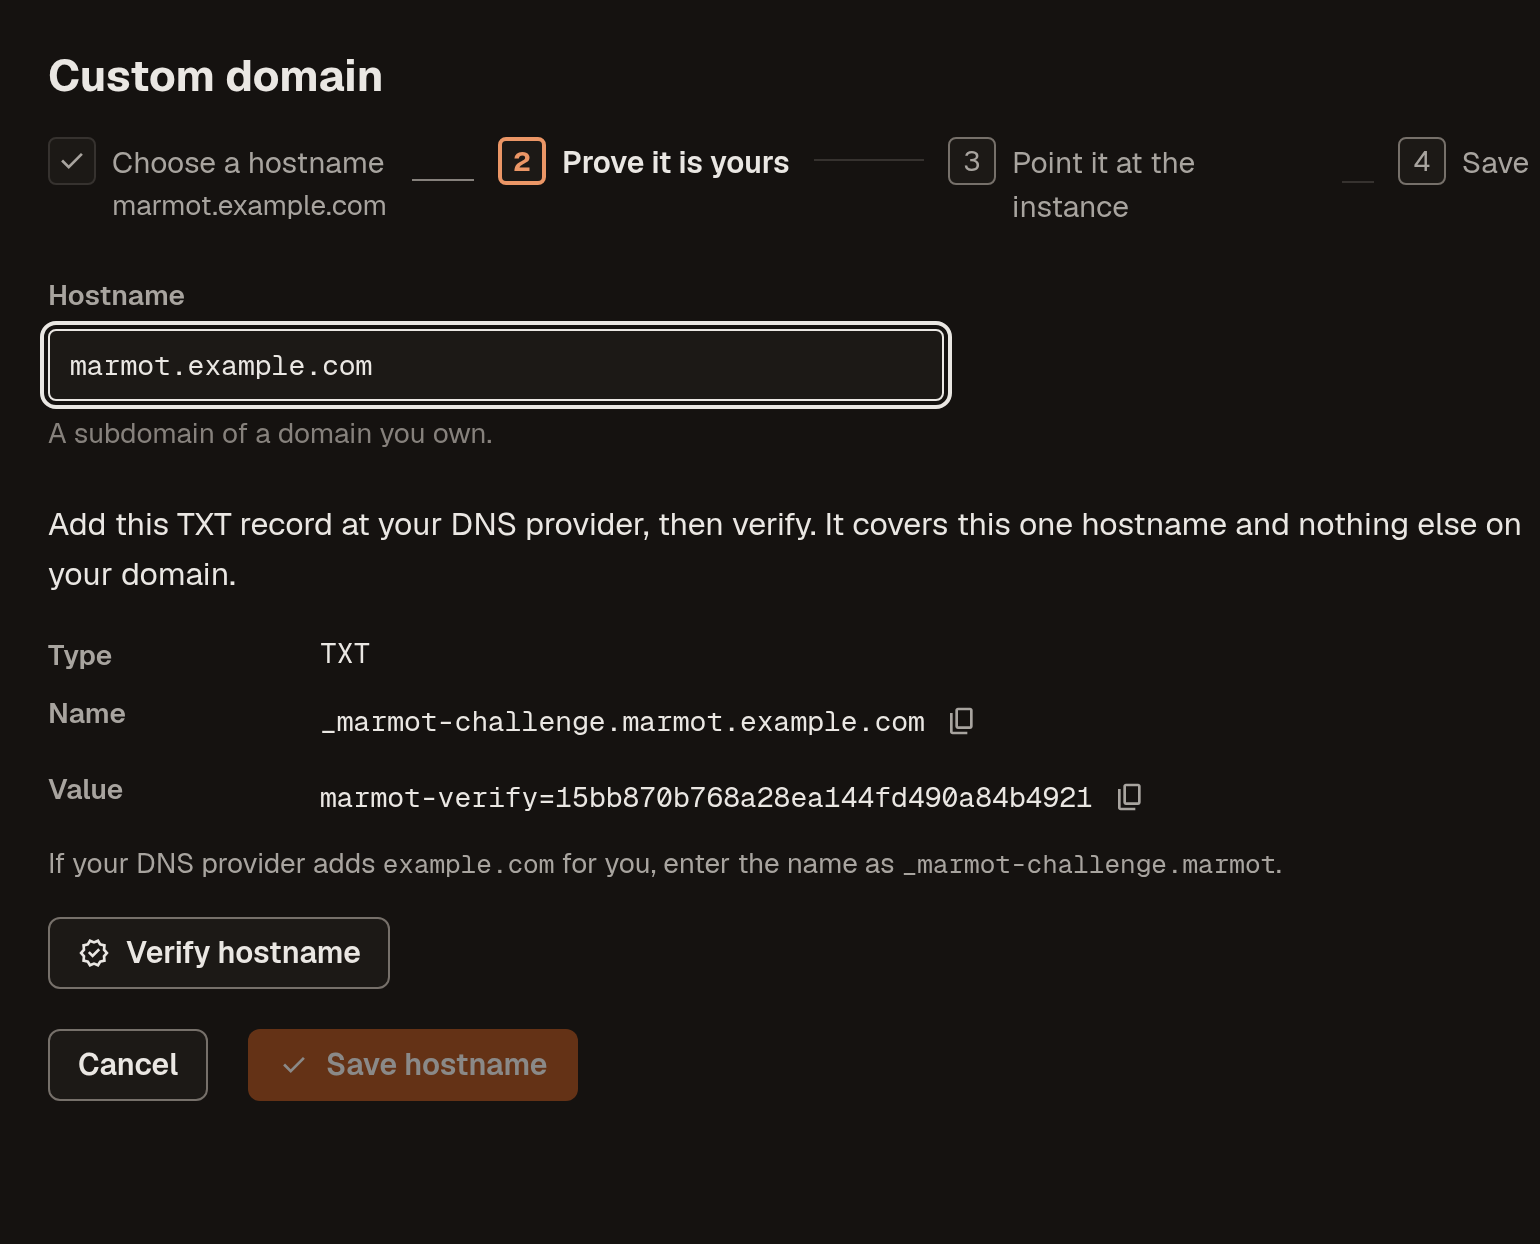
The TXT record step for marmot.example.com:
Check that it worked
The domain moves through Waiting for DNS, Issuing certificate and Active. The certificate usually takes a few minutes, and the generated hostname keeps working throughout.
Open https://marmot.example.com once it shows Active.
Remove the domain
Select Remove custom domain. The instance stops answering on it, and the generated hostname keeps working.
Next steps
- Access control: decide who can see and change what.
- Set up single sign-on: let your team sign in through your identity provider.