Create a pipeline in the UI
The Plugins page creates and runs pipelines from a form, which is the quickest way to try a plugin. Every pipeline is listed there with its last run, recent runs, schedule and the assets it catalogs:

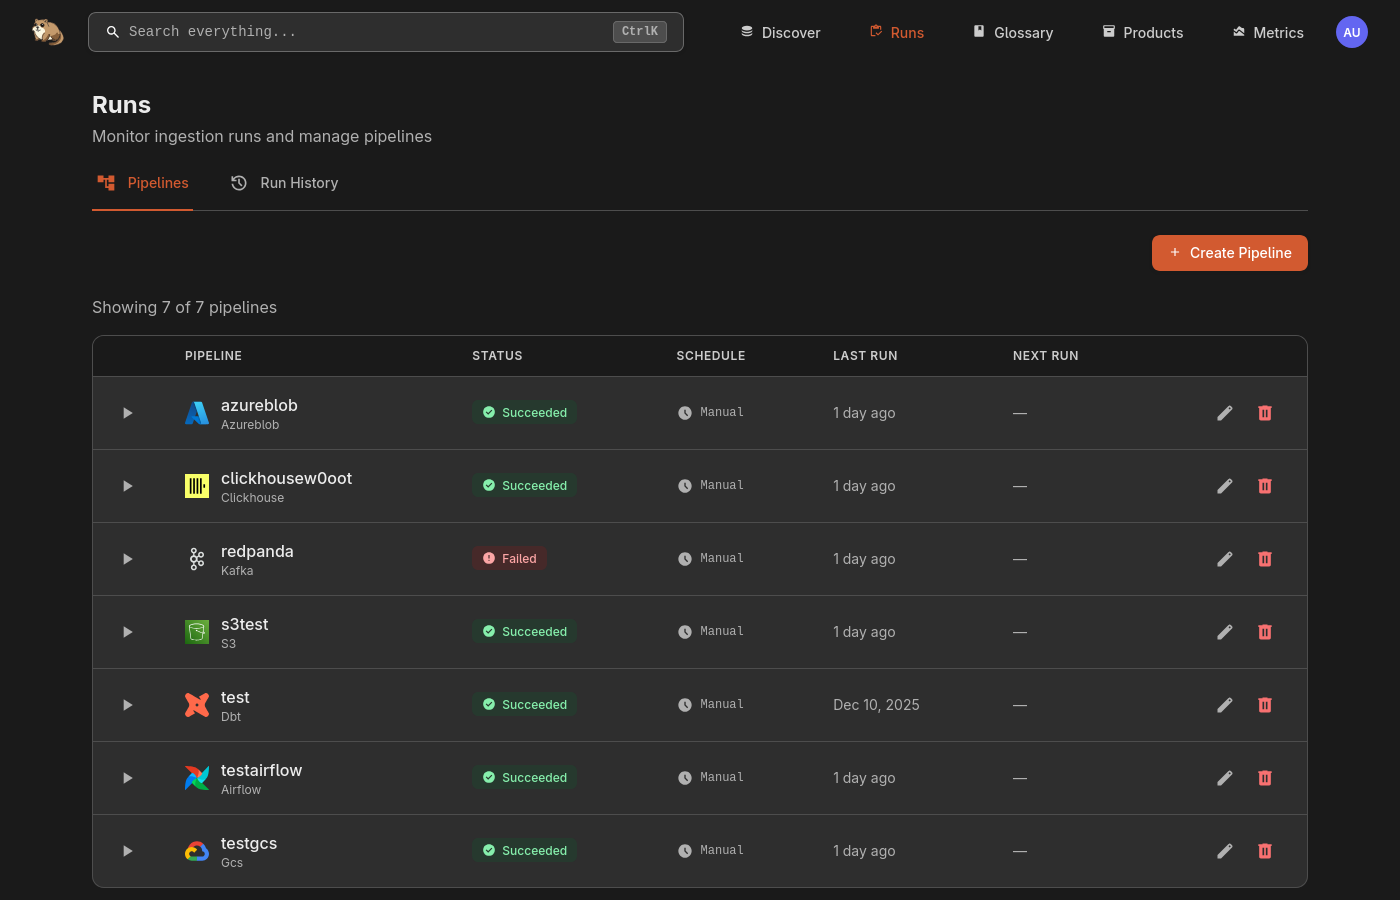
Create a pipeline
- On Plugins, select Add plugin, or pick a plugin under Add a source.
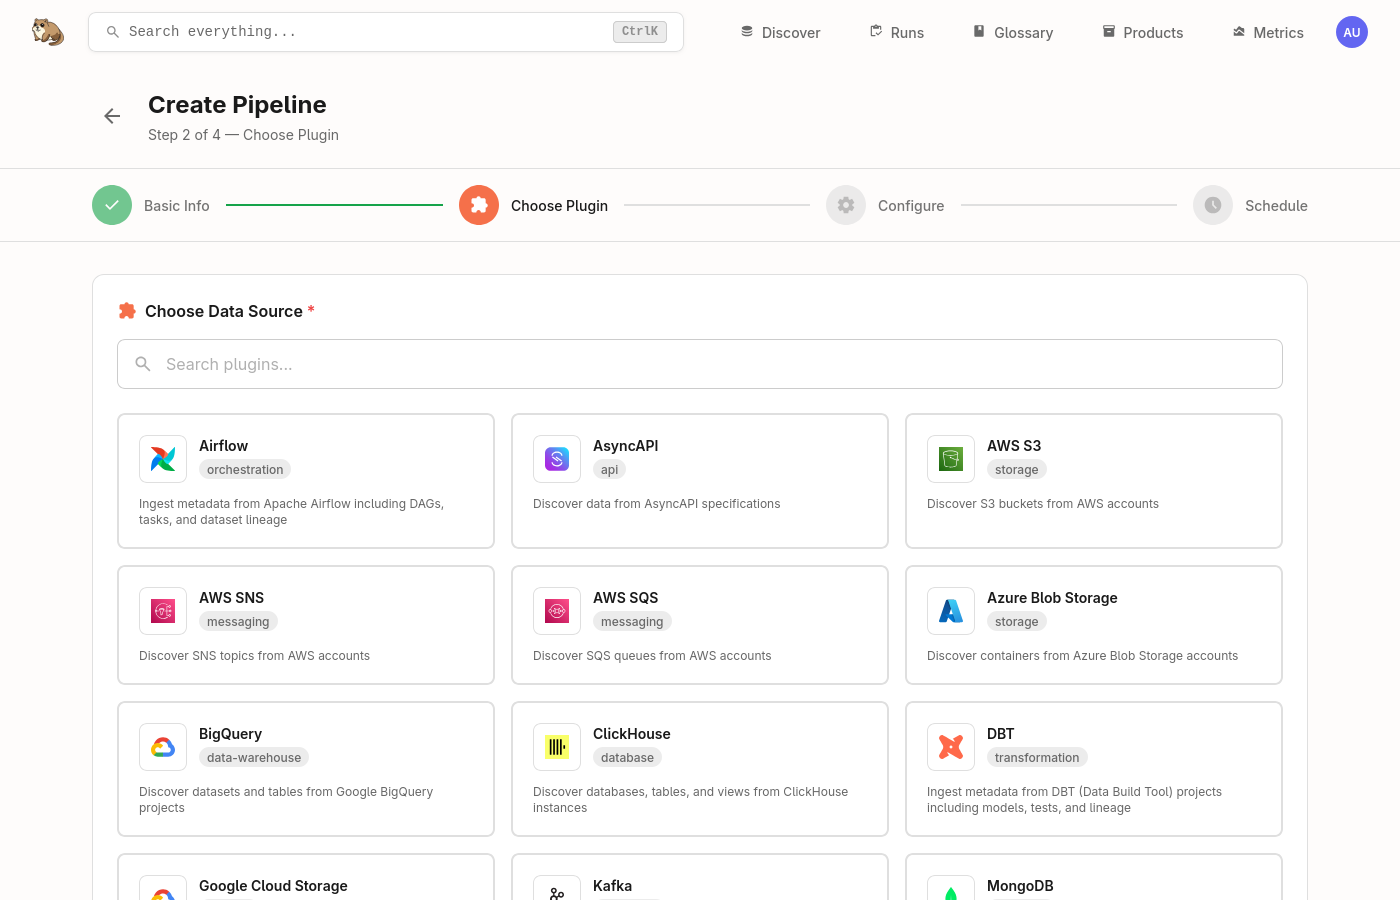
- Under Choose plugin, search for your source, select it and select Continue.
- Under Basic info, enter a Pipeline name, such as
marketplace-postgres, and select Continue. - Under Configure, fill in the connection details. Test connection lists what the plugin can see without changing the catalog. For a plugin marked Supports querying, turn on Let agents and people query this source if it should answer read-only queries. Select Check and continue.
- Under Schedule and filters, turn on Run on a schedule if it should run by itself, choose when the First run happens and select Create pipeline.
The plugin chosen:

The Configure step for a PostgreSQL source:
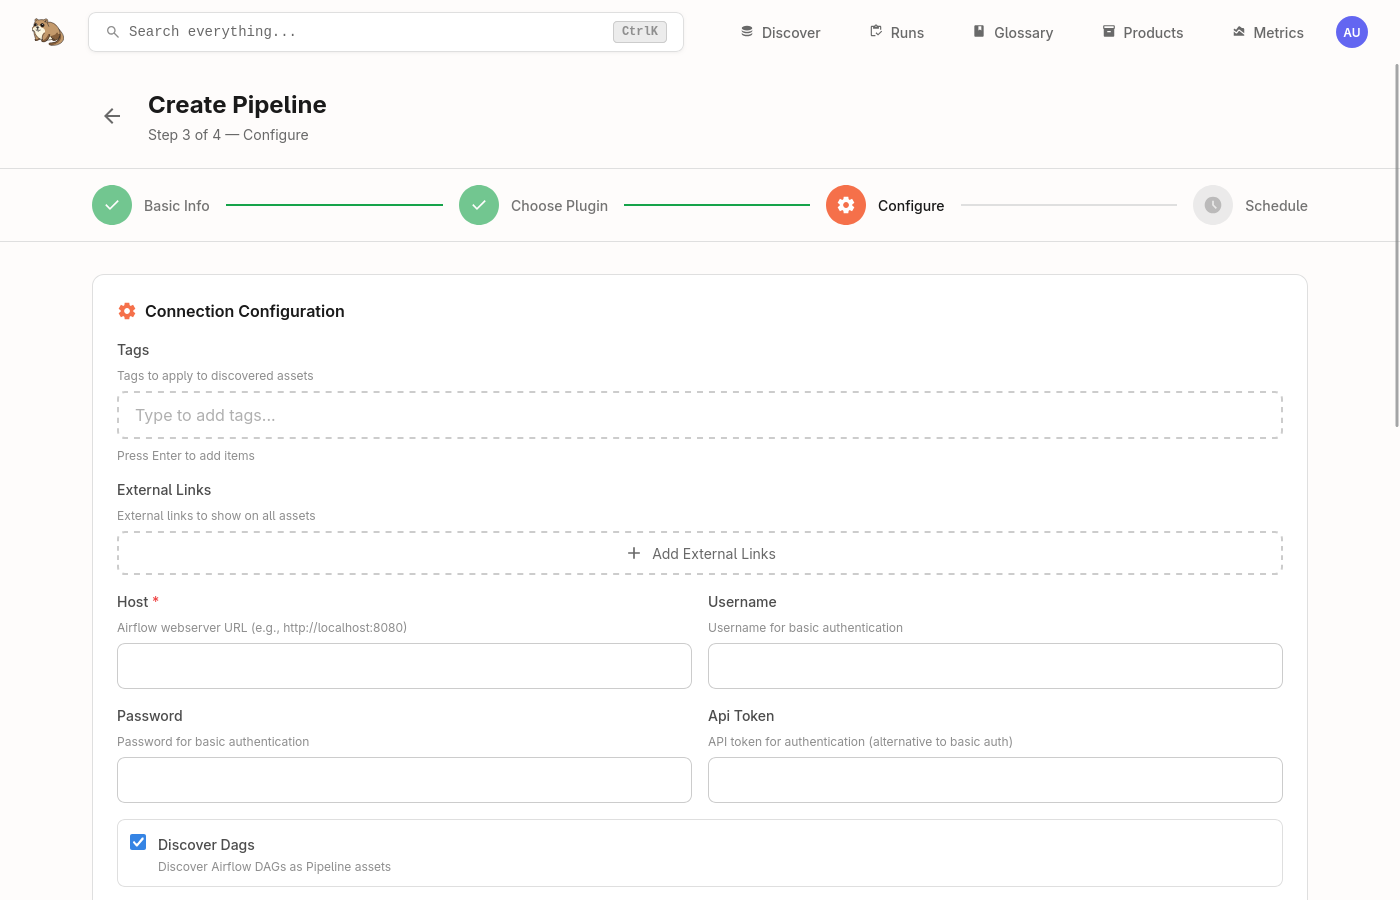
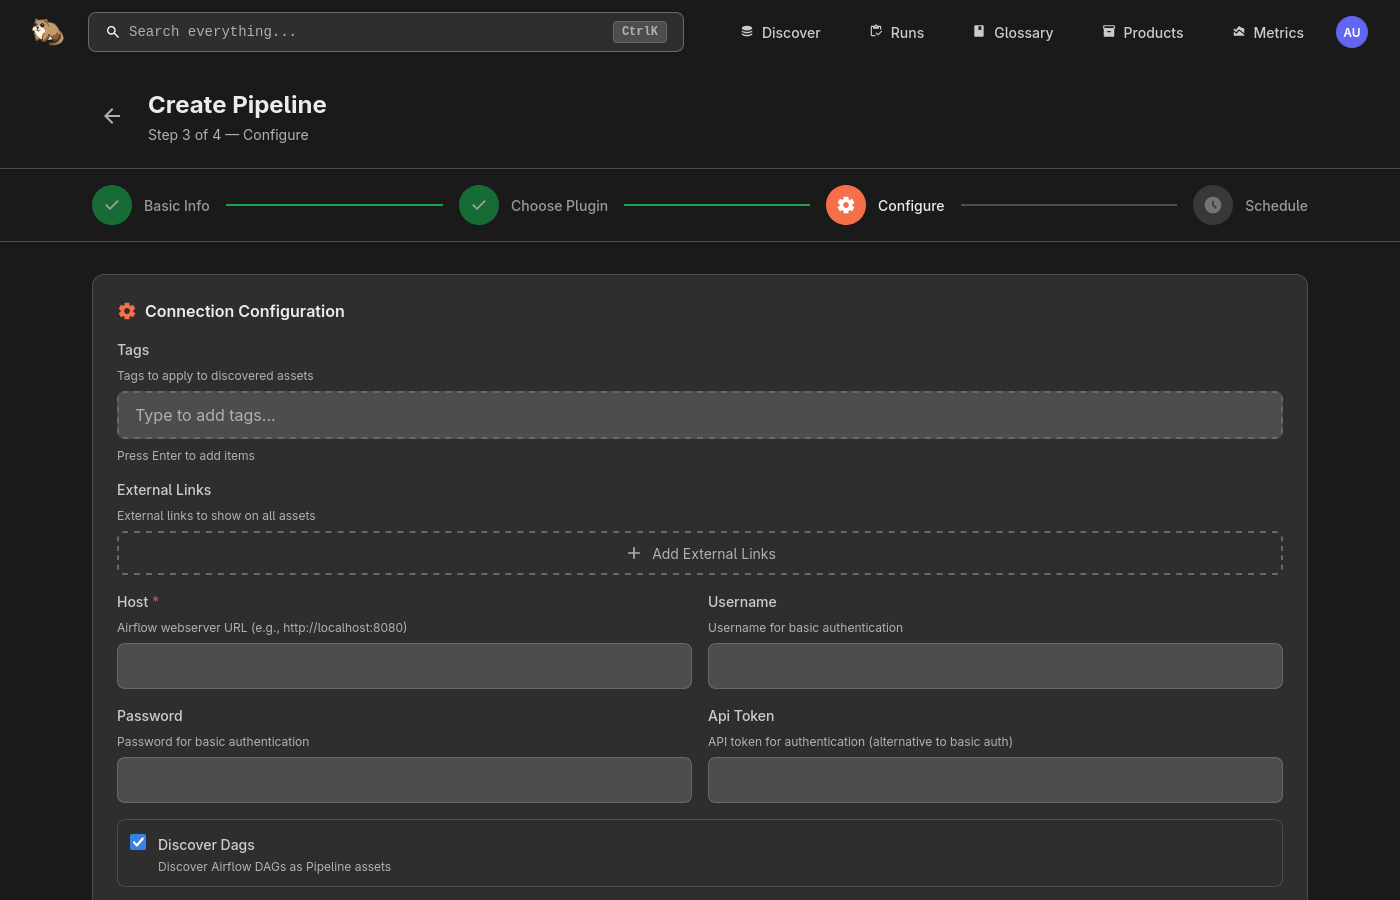
Options differ by plugin. Each plugin's page in the plugin registry lists them.
Run and edit pipelines
Run now on a pipeline's row starts it straight away. The menu on the row has View runs, for its run history and the log of each run, Edit pipeline and delete.
Next steps
- Pipelines: how pipelines run and how to declare them in Terraform.
- From the CLI: run a plugin from your own machine or CI and push the results.