Getting started
This guide gets you a running instance, a terminal signed in to it, and an empty Terraform configuration that can reach it. It takes about five minutes.
Create your account
Sign up at cloud.marmotdata.io and pick a plan. Free needs no card and has no end date, which is enough to point Marmot at a system you actually run. The pricing page covers what each plan includes.
Launch an instance
Launching takes about a minute and continues if you close the page. You end with an address like
https://acme.marmotdata.cloud. That is your instance, and almost everything from here happens there rather than in the console.Sign in to your instance
Reveal the initial password next to the
adminusername in the console and sign in at your instance URL. Marmot asks for a new password immediately, and the generated one stops working.Do this before anyone else signs in
Configure single sign-on now, while the instance has one user. Retrofitting it onto an instance full of local accounts means reconciling each one by hand.
Connect your terminal
Homebrew
brew install marmotInstall script
curl -fsSL get.marmotdata.io | shVerify scripts
It's good practice to inspect the contents of any script before piping it into bash.Download the binary
Download the latest Marmot binary for your platform from GitHub Releases.Make it executable
chmod +x marmotMove to your PATH
sudo mv marmot /usr/local/bin/
marmot login https://acme.marmotdata.cloudmarmot assets listYour browser opens, you sign in, and the CLI stores a 24-hour token. An empty asset list is correct on a fresh instance.
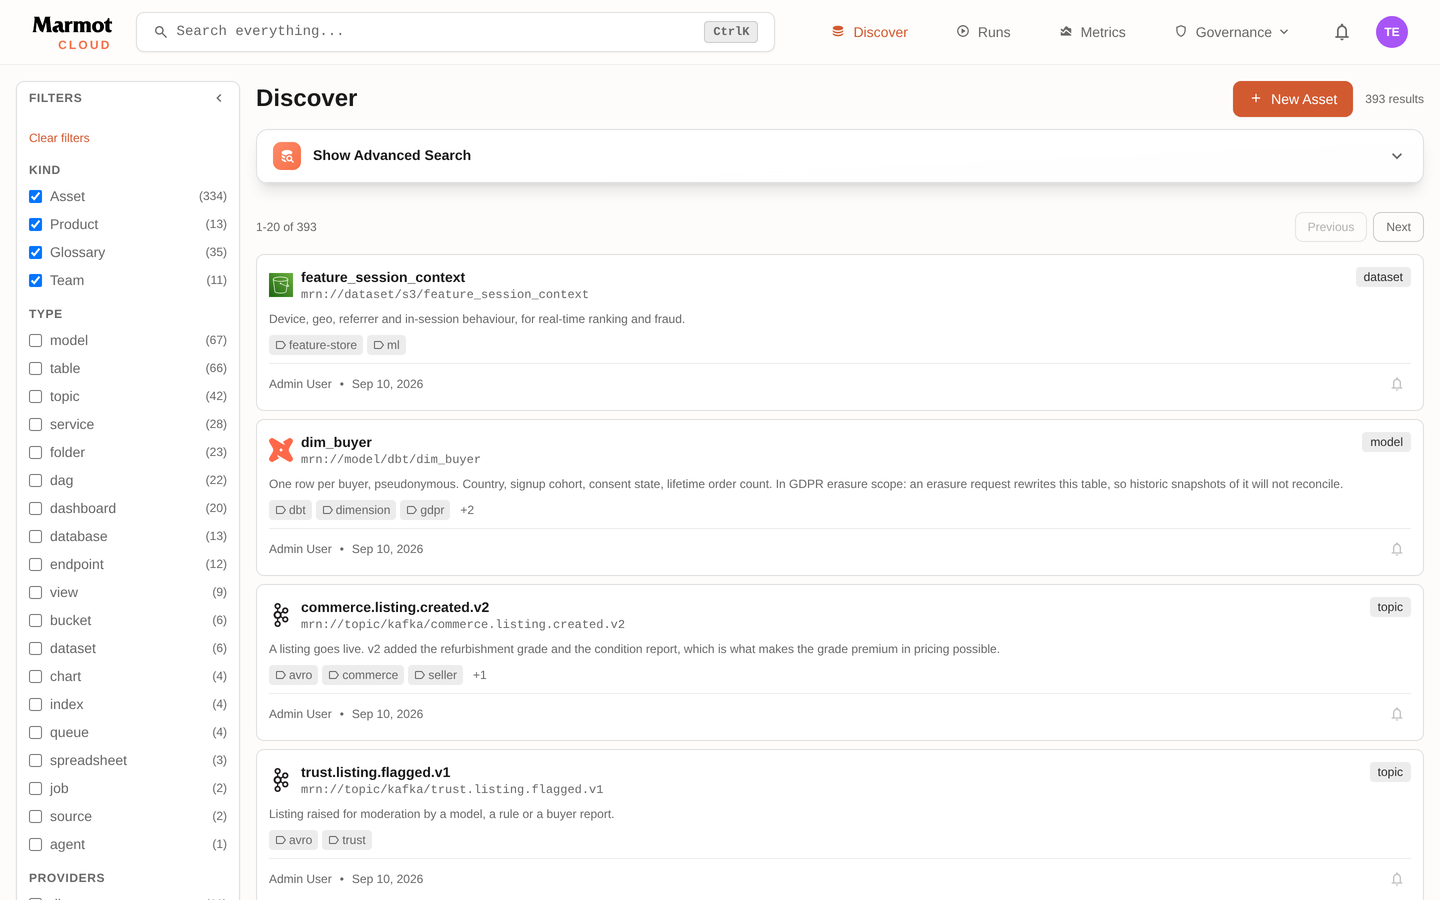
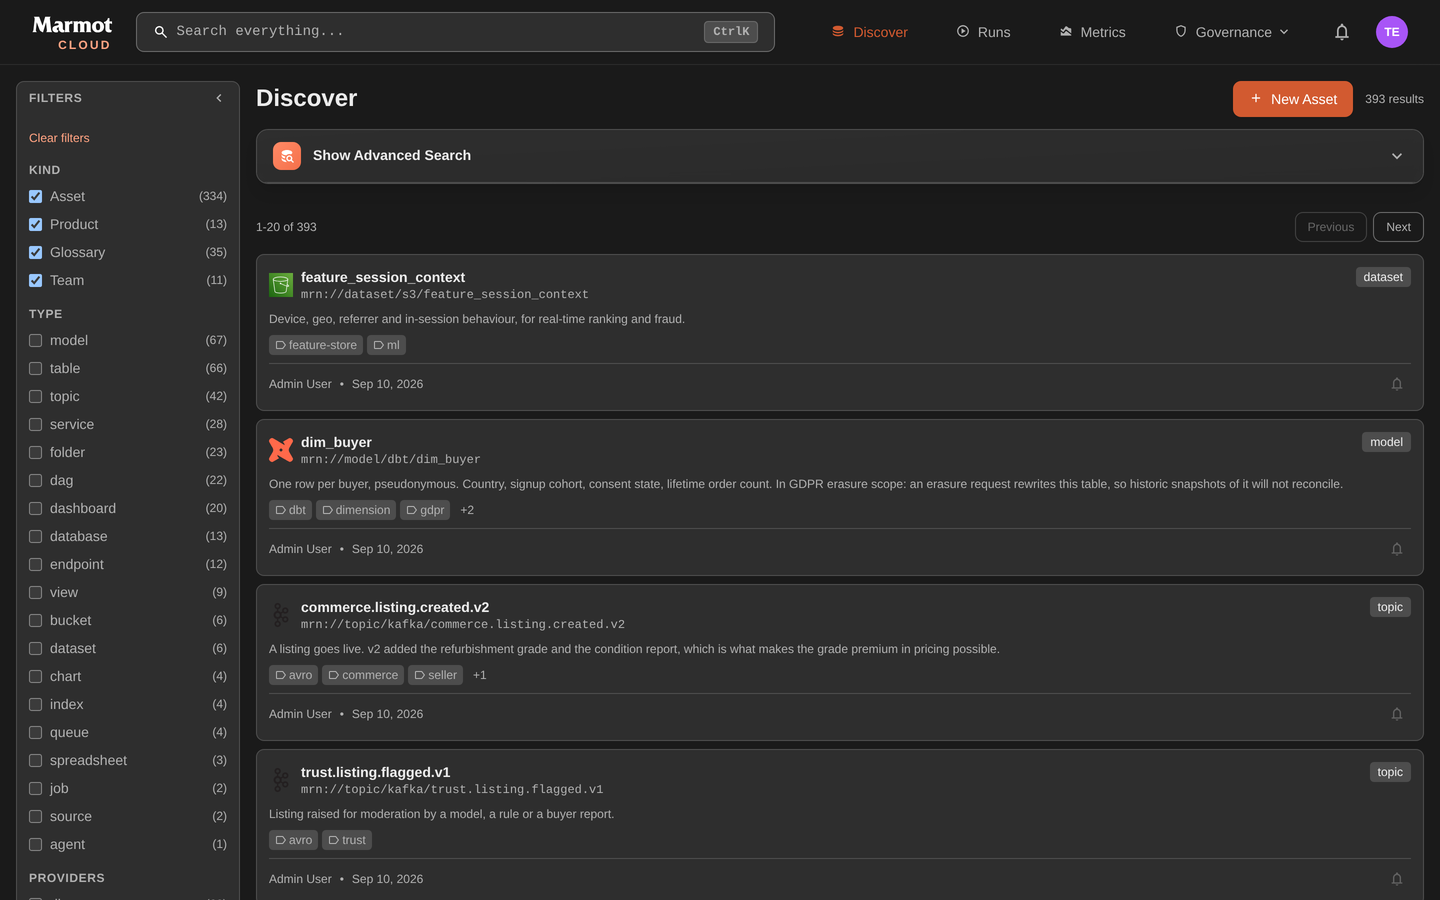
Once a pipeline has run, the same catalog is on Discover: assets, data products, glossary terms and teams behind one search.
Start a Terraform configuration
Everything you do to the instance from here is declared in Terraform. Create a repository and start with the provider block alone:
terraform {required_version = ">= 1.11"required_providers {marmot = {source = "marmotdata/marmot"}}}provider "marmot" {host = "https://acme.marmotdata.cloud"}terraform initterraform planThe provider authenticates with your CLI session, so there is no API key to create. An empty plan confirms it can reach the instance. When the configuration moves to CI it gets a service account of its own.
Your first pipeline
Pick the cloud your data lives in. Each guide walks you from the empty configuration above to a running pipeline that catalogs a native source with no credential at all, then shows how to add a source that needs a password.